You are designers brainstorming ideas for a new videogame geared toward kids ages 8 - 12. You have already created a character and game level. Now, your team manager has asked you to make a trailer for the game. They want you to plan, film, and edit a short clip using cameras provided and WeVideo depicting your character and any special features they might possess in your game level. You will present your trailer to your class.
Learning Target
Using the storyboard sheet, students will be able to plan a story which clearly represents their original video game design.
Skills
Connecting themes from art-making (physical environments) to self
Critical thinking, observing and applying observations to sculpture
Envision: Where will my character be? How do I depict this visually?
Transferring 3D forms to videos
Creating sculptures, exploring building methods and reflecting on how each one works and how they’ll apply it.
Learning responsibility and cleaning habits
Reflecting and assessing work, analyzing process and product
Literacy Focus
Students will: ●write and draw when planning in their sketchbooks ●discuss each other’s work during critiques.
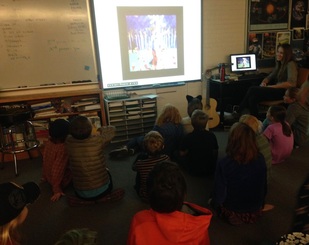
Today, students viewed an artist made 40 second video with a clear theme, moving parts, and both character and environment features. The students pointed out how things moved as the story progressed and discussed the meaning of the story telling process.
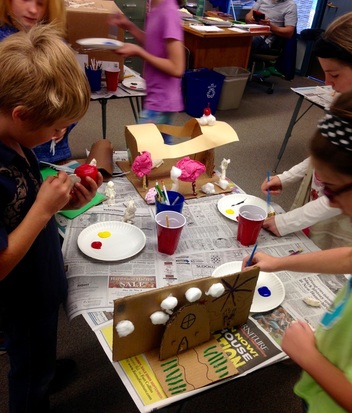
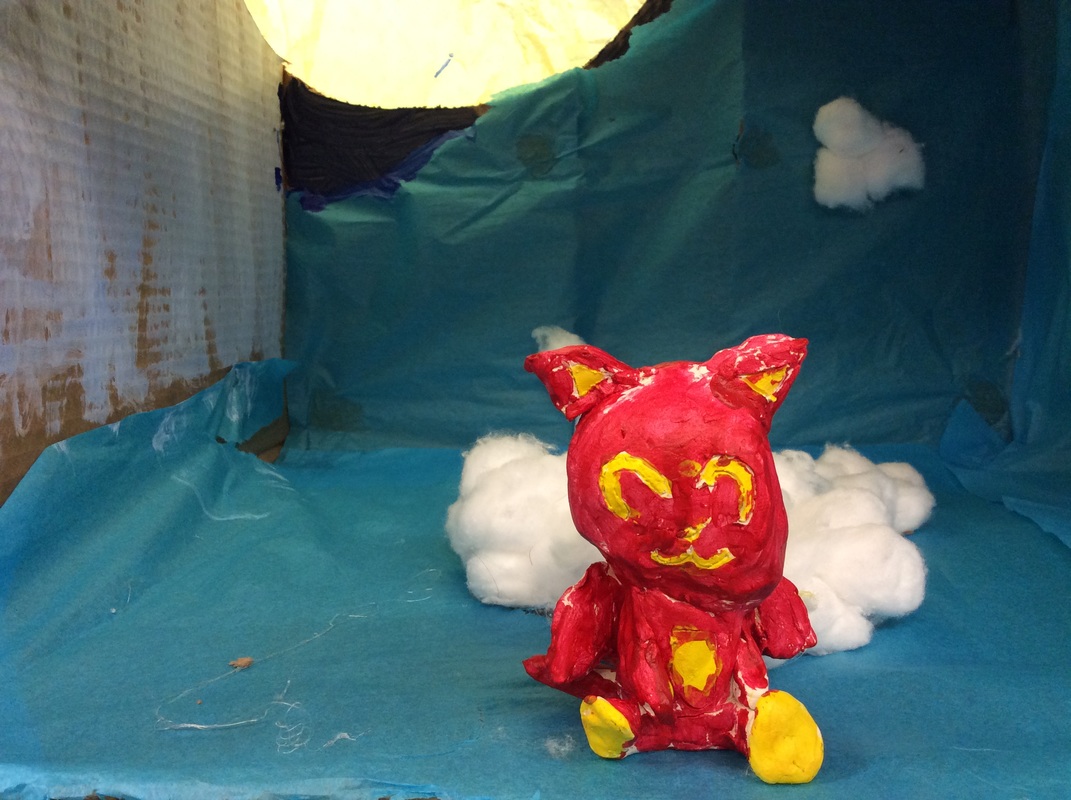
After our discussion about story telling, we let the students get back to work, painting their clay figures and finishing their environments.
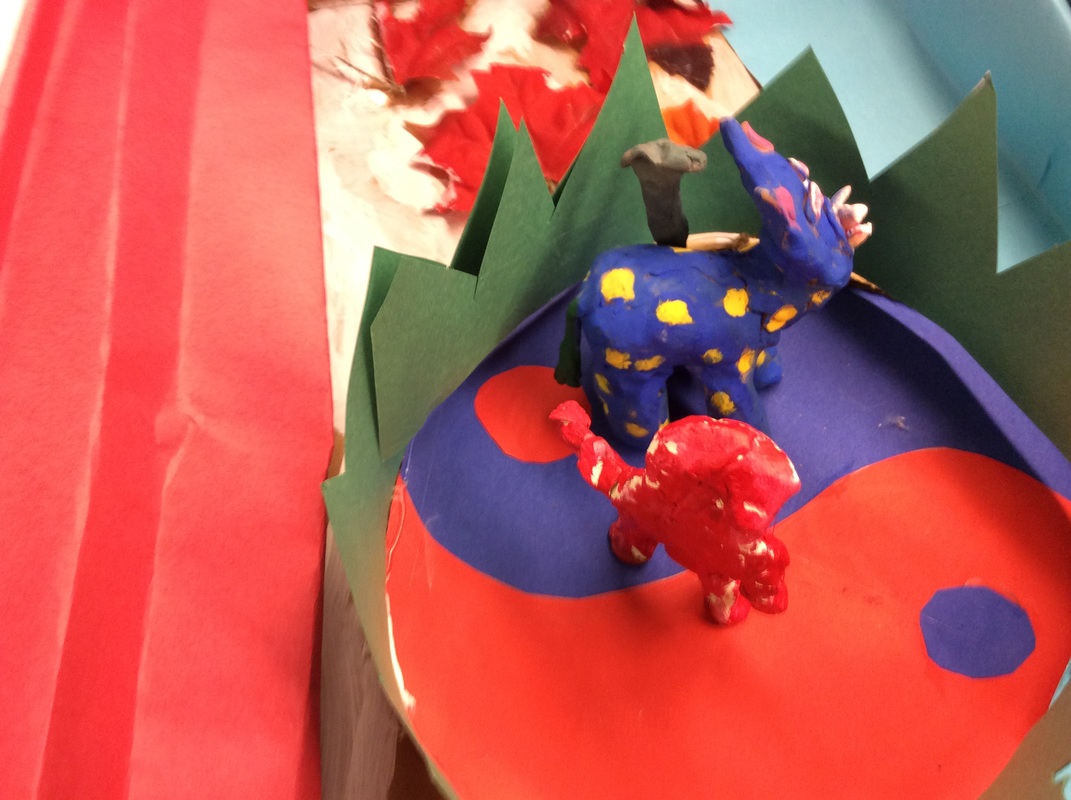
The students worked diligently, using their paint and construction materials and time wisely. Some students used innovated ideas of how to mix paint and what colors to use. One group of students was particularly amazed by their peer's ability to create brown, and asked for her help. She then told them what three colors, "green, then red, then a little bit of yellow," she used to make it for her environment.
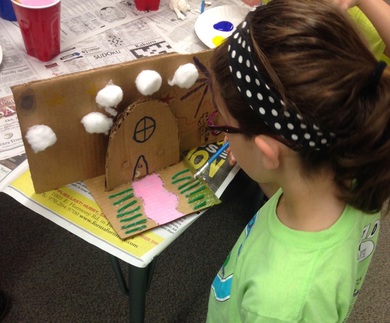
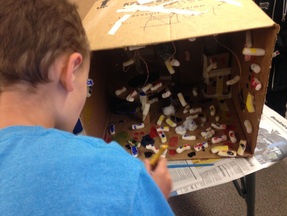
Many of the students used this time to focus on detail. The two students (right and below) are photographed adding color as a detail to their designs. The girl in the image to the right took her time drawing and painting between her 2D and 3D designs. The boy photographed below is seen using color to paint his character, being careful not to mix colors that he didn't want to mix.
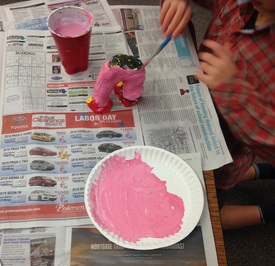
Some students were very resourceful with the materials we had that day. One student wanted a fine tipped paintbrush to add details to her environment, and used a pencil, dipped in paint, to get the fine point she needed.
Some students took this extra time to revisit their designs. The student to the right, for example, decided to add bits of color to his piece, talking about how he realized how "boring" it looked before.
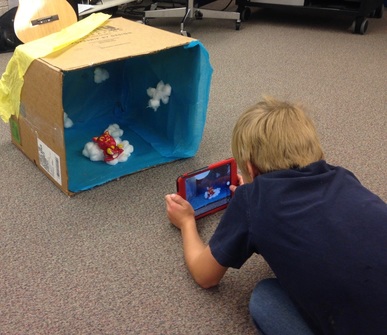
As students finished up with their decoration and construction, we gave the students the classroom iPads to demonstrate to us how much instruction will be needed for image capturing for their animations.
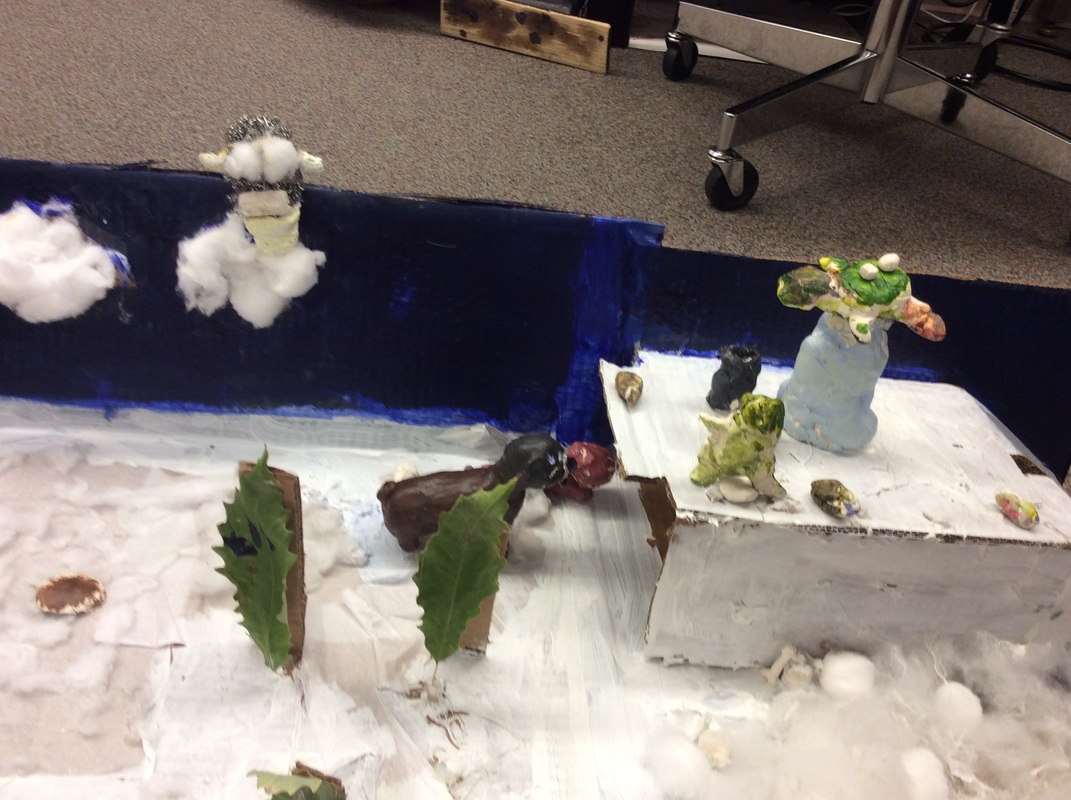
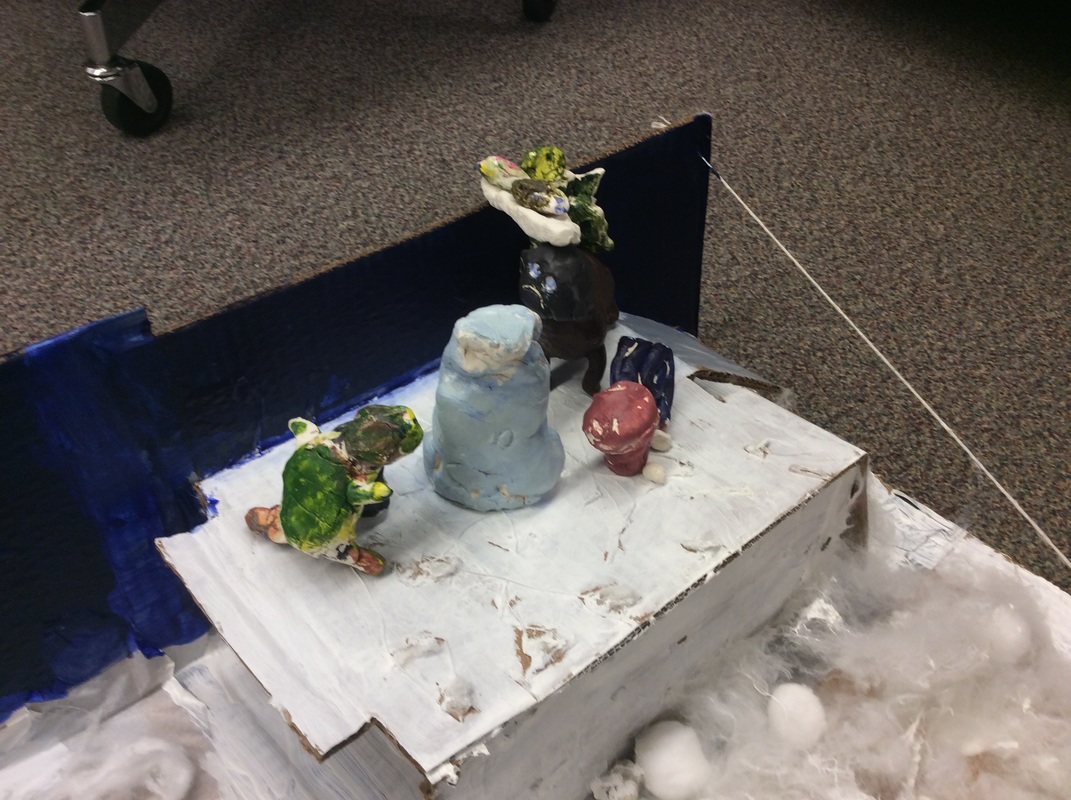
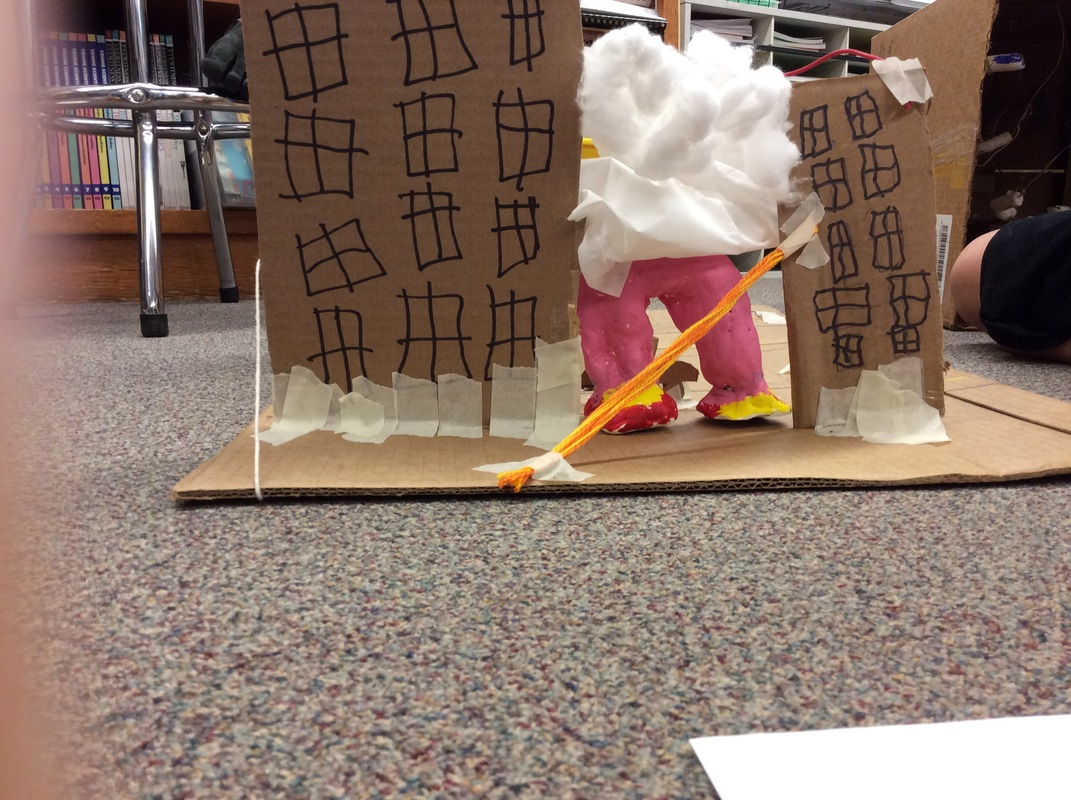
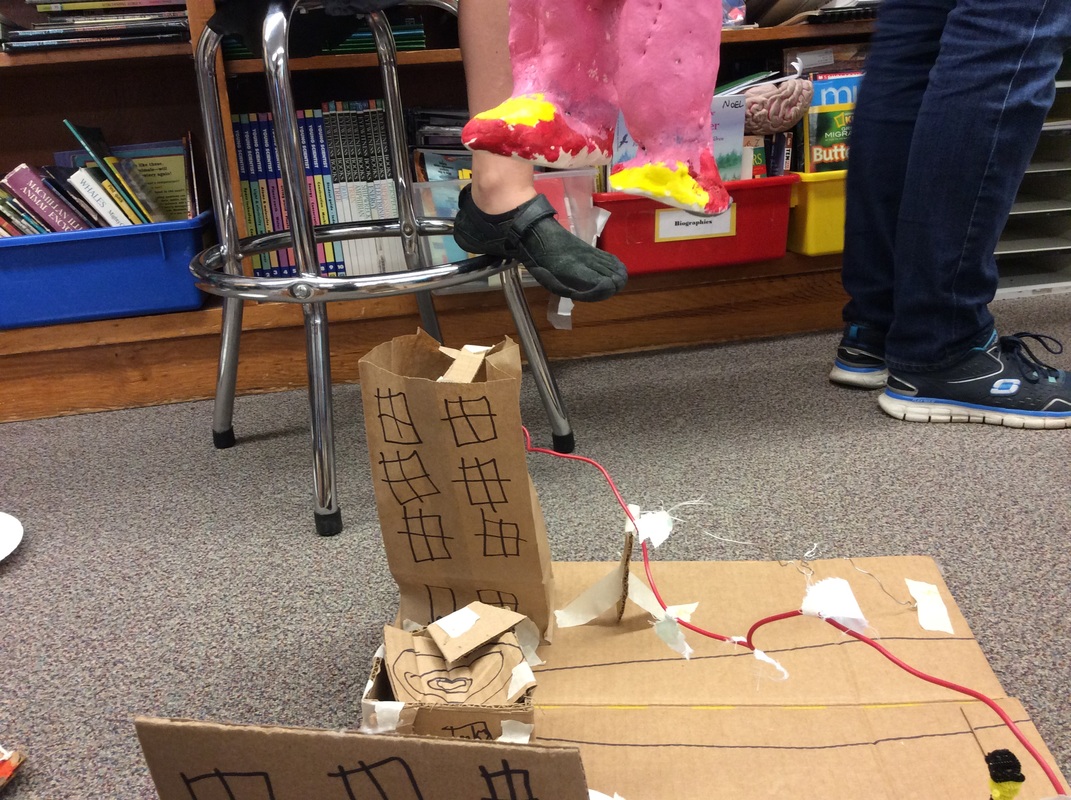
The students had to arrange their character and their environment in 3 different ways, to tell a story, and take 3 photographs.
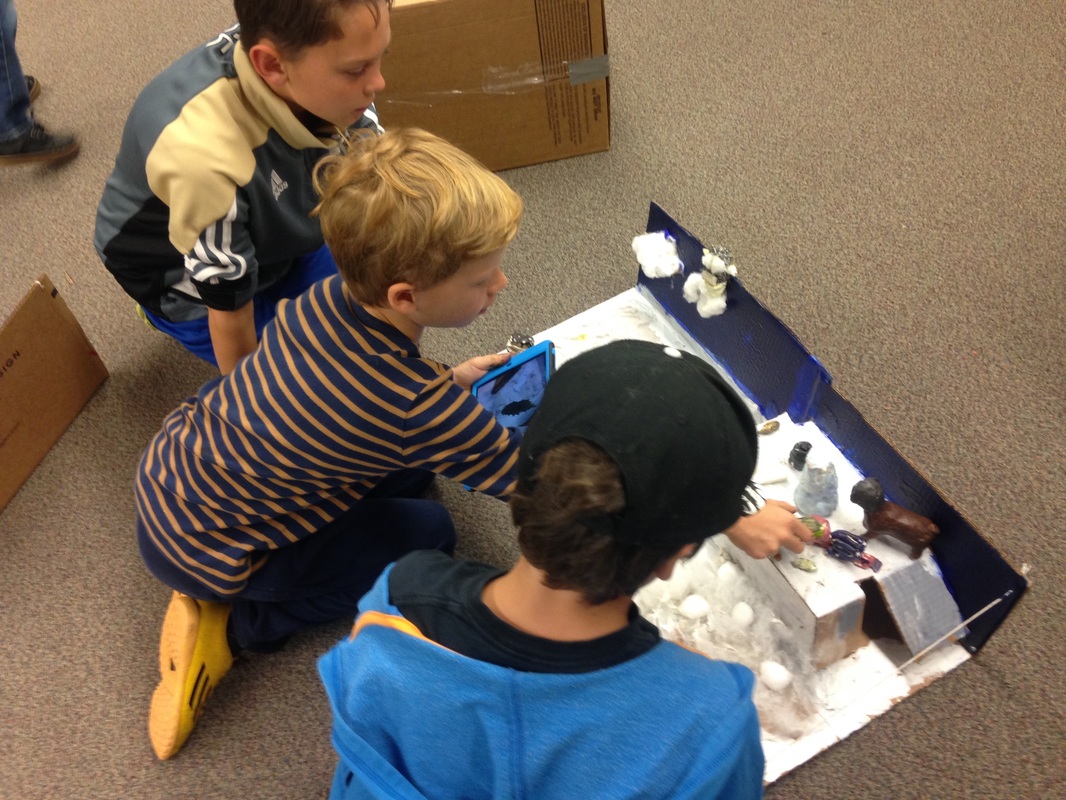
Some students (right) chose to work together to help photograph their pieces, asking for their peer's opinions on what looked the best and what they suggested they do next.
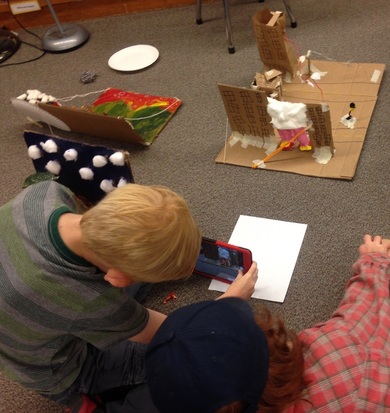
(below) Students who were already in a group were still asked to take 3 photographs per person. They took this as a challenge and an opportunity to get more interesting shots in.
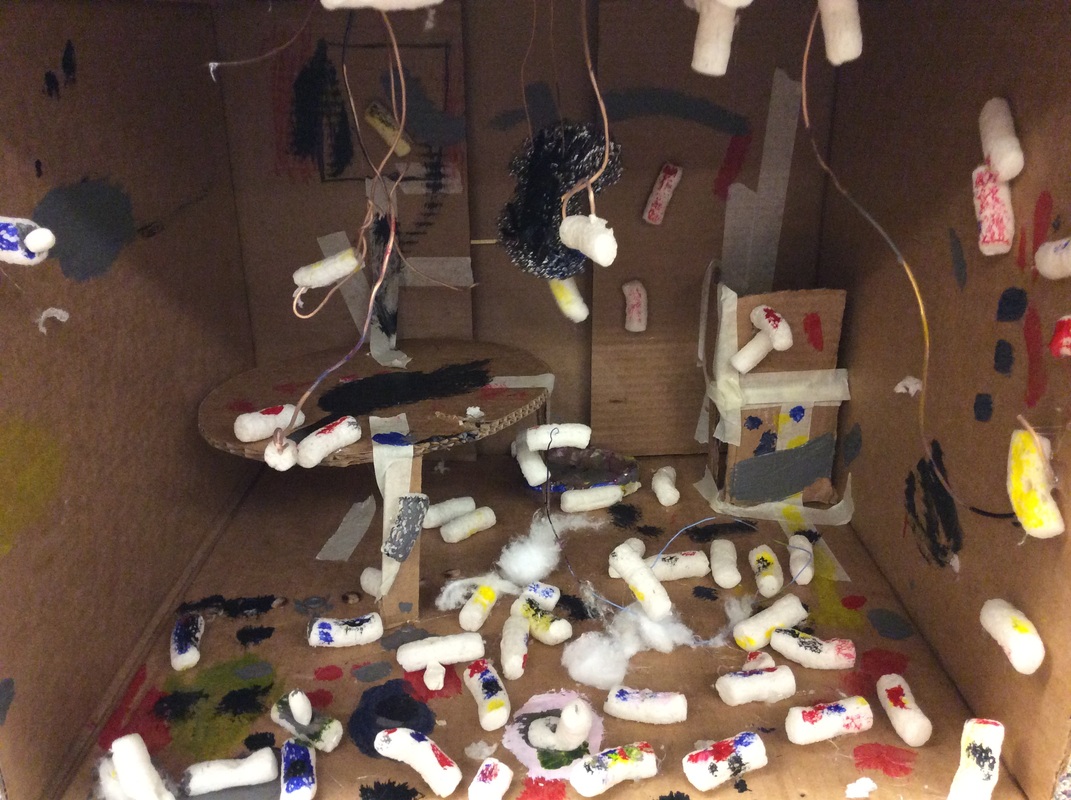
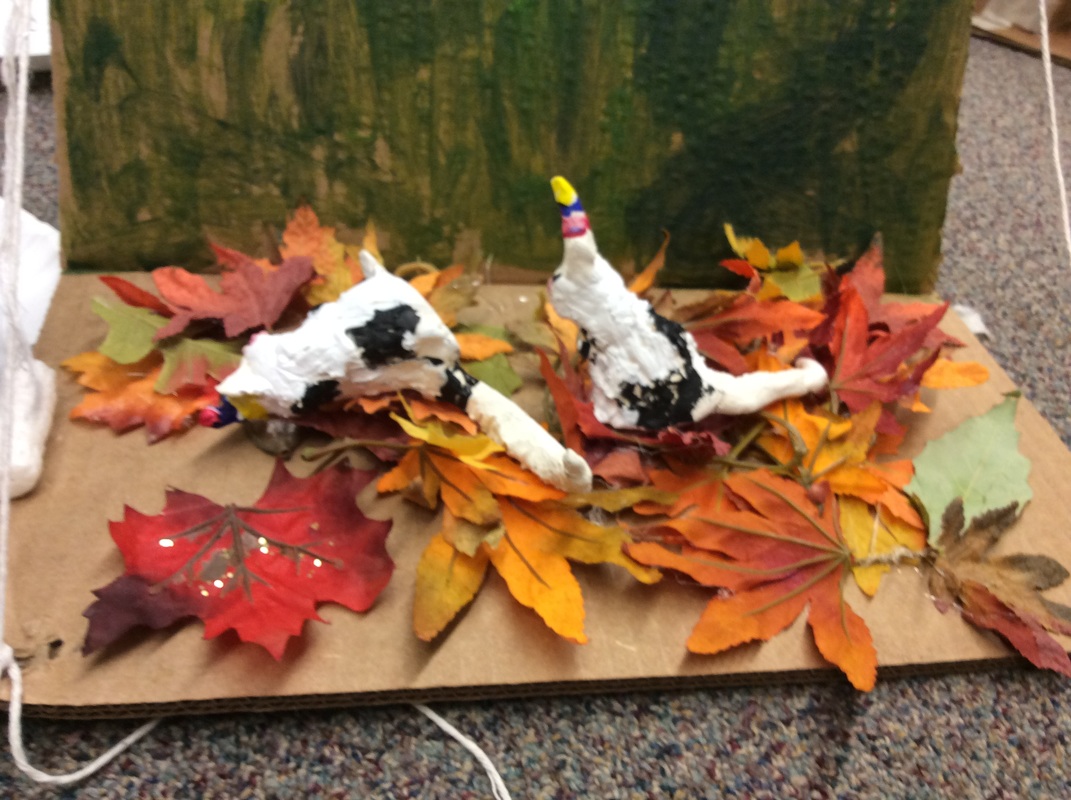
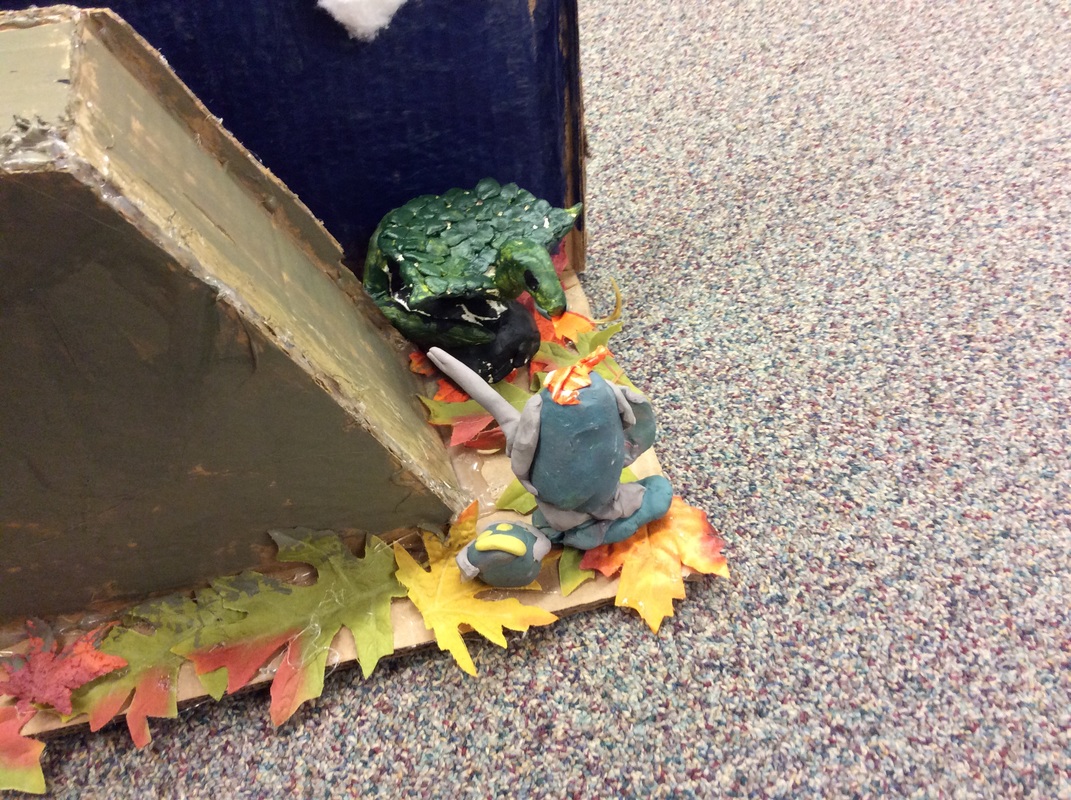
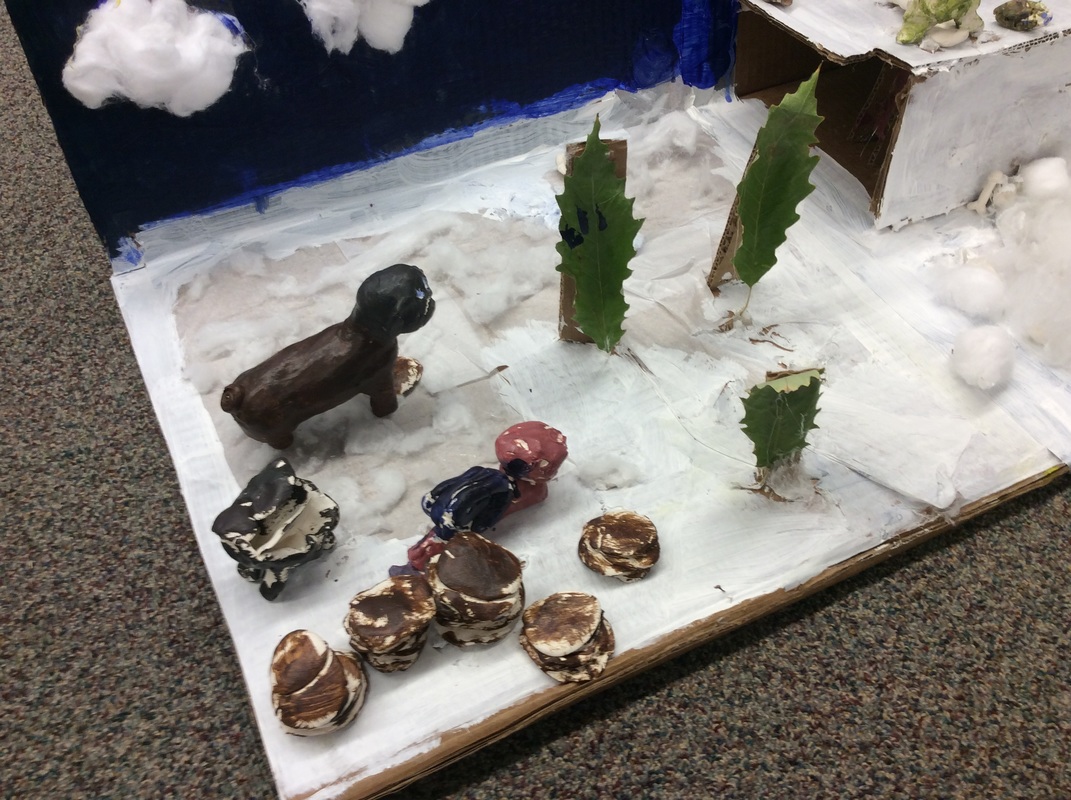
Below are some images that different students took when photographing their work.
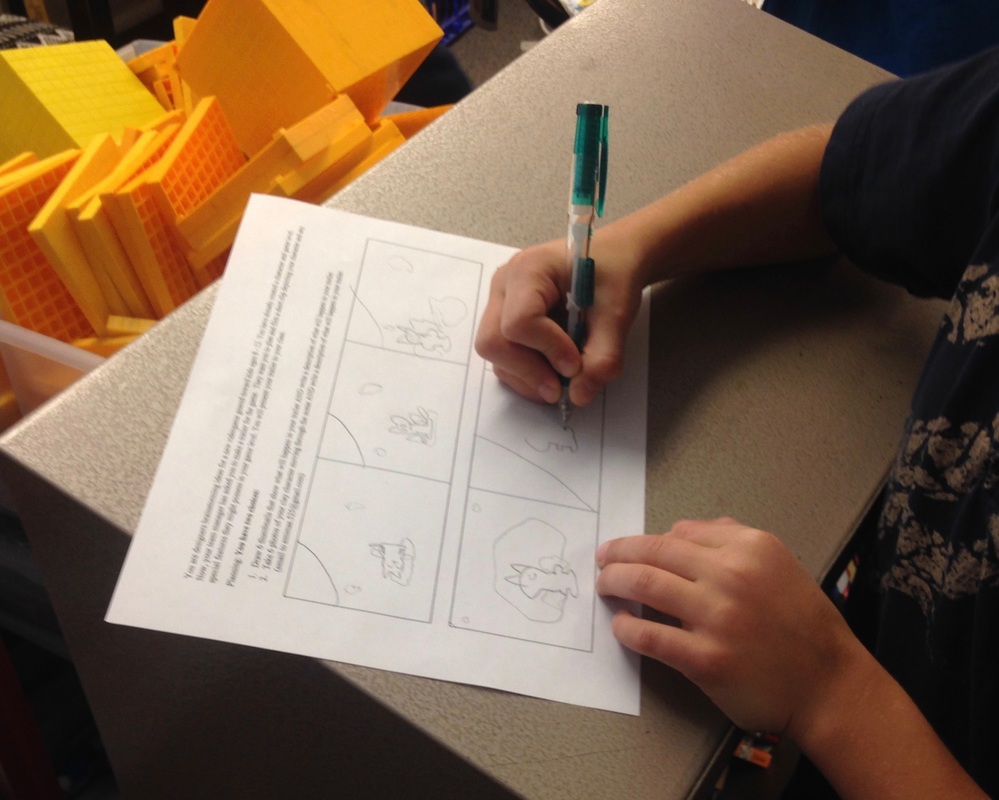
The next step for the students was to begin their storyboard planning! The students went back to their environments and began to draw out at least 6 different frames for their animation. The students then wrote out the basic story that they will be depicting on the back of their storyboard sheet.