You are designers brainstorming ideas for a new videogame geared toward kids ages 8 - 12. You have already created a character and game level. Now, your team manager has asked you to make a trailer for the game. They want you to plan, film, and edit a short clip using cameras provided and WeVideo depicting your character and any special features they might possess in your game level. You will present your trailer to your class.
Learning Target
Using WeVideo, students will be able to create an animation which effectively communicates their story (Applying/Create/GLE 2/Materials and techniques/Literacy and Technology)
Skills
Connecting themes from art-making (physical environments) to self
Critical thinking, observing and applying observations to sculpture
Envision: Where will my character be? How do I depict this visually?
Transferring 3D forms to videos
Creating sculptures, exploring building methods and reflecting on how each one works and how they’ll apply it.
Learning responsibility and cleaning habits
Reflecting and assessing work, analyzing process and product
Literacy Focus
Students will: ●write and draw when planning in their sketchbooks ●discuss each other’s work during critiques.
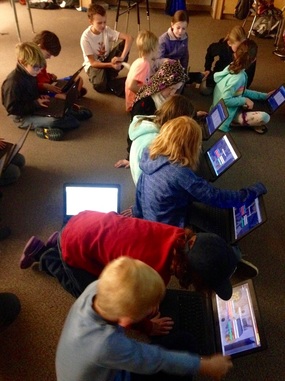
Today, students used WeVideo to turn their photos into stop-motion animations. After a short demo of how to use WeVideo, students were given work time. They decided the order and timing of their photos, added transition slides, and edited sound for their videos. Using WeVideo brought a lot of stuggle to the table, but the students are such great problem solvers and go-getters that we all pushed through the difficulties to get the videos to be their very best! Many of the students knew exactly how to drag and drop images in, then after learning how to cut them, their videos became much shorter, and looked more like original stop motion animation.
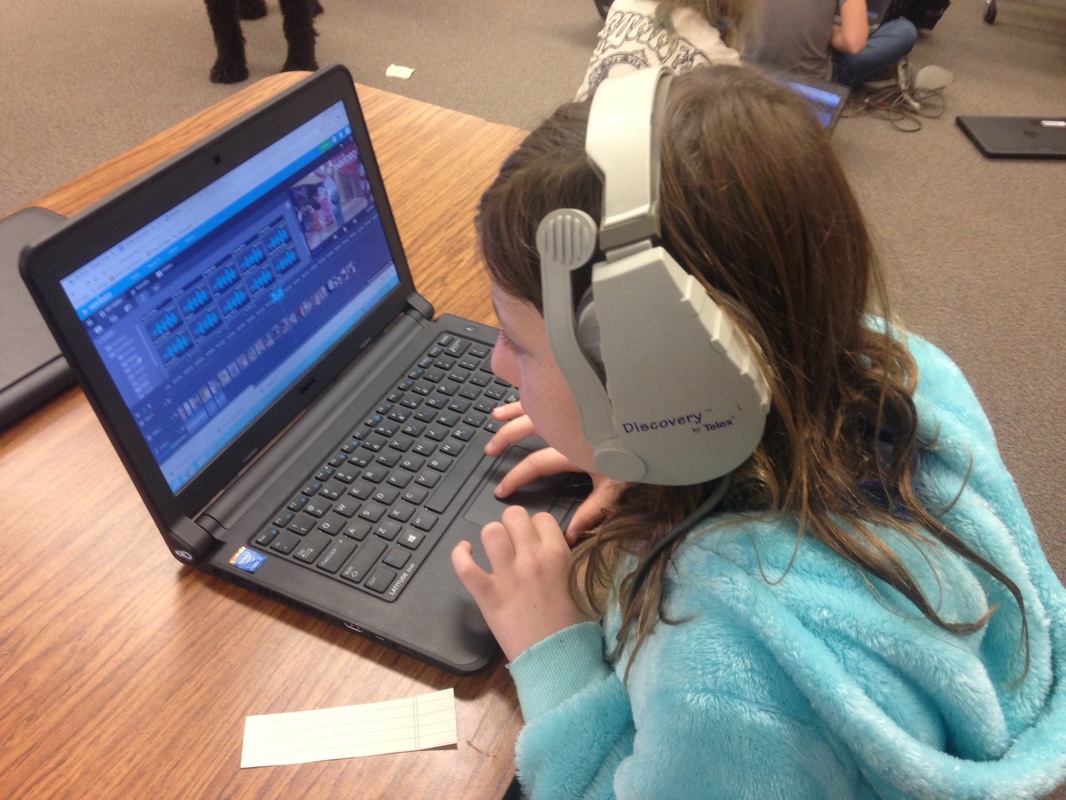
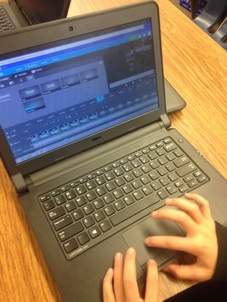
The student to the right is seen working on the audio. She grabbed the available listening equipment and got started on picking out the best song to convey the meaning of her story. She explained how to add audio by "Just draging and droping the sound down" into the video. After getting the sound all done, you can see her partner (below) reviewing the work they made together and reflecting on their artwork. After they viewed their work, they went in and added some more images and details.
This video, "Rats Fight for Heir to the Throne", incorporates images, but relies much more heavily on text to tel the story. The student who created it also had a specific narrative in mind. She decided that including text to narrate her story would make it clear what was happening. The video feels more like a silent film or a storybook because of her choice to include text slides and use panning pictures.
The two boys in the photo to the left are seen working on a similar project together. Their video would consist of over 100 photos! They were resiliant and began dragging and dropping all of their photos down, one by one. After getting a bit frusrated, one of the boys figured he could do more help by working on the audio while his partner worked on the images. That way once they got all of their photos in, their video could come together easily.
In the image below, one student shared her discovery of text and font on WeVideo. She wanted to include the text to theb ginning and end of her video, so she had to figure out how to move her video to make space and lengthen her sound accordingly. After getting frustrated a bit, she finally managed to select all her images and move them all at once in order to fit a text slide at the beginning. Afterwords, she was so happy to have the text option to her work, telling us that "it looks like a real movie".
The student who created "The Banana Fights Back" had a specific story she wanted to tell. The gorilla finds a banana and tries to eat it. The next day, the gorilla tries again, but the banana fights back and beats him up. The student took a lot of pictures, planning which ones she needed. Because of this, she was able to create a narrative with almost no text.